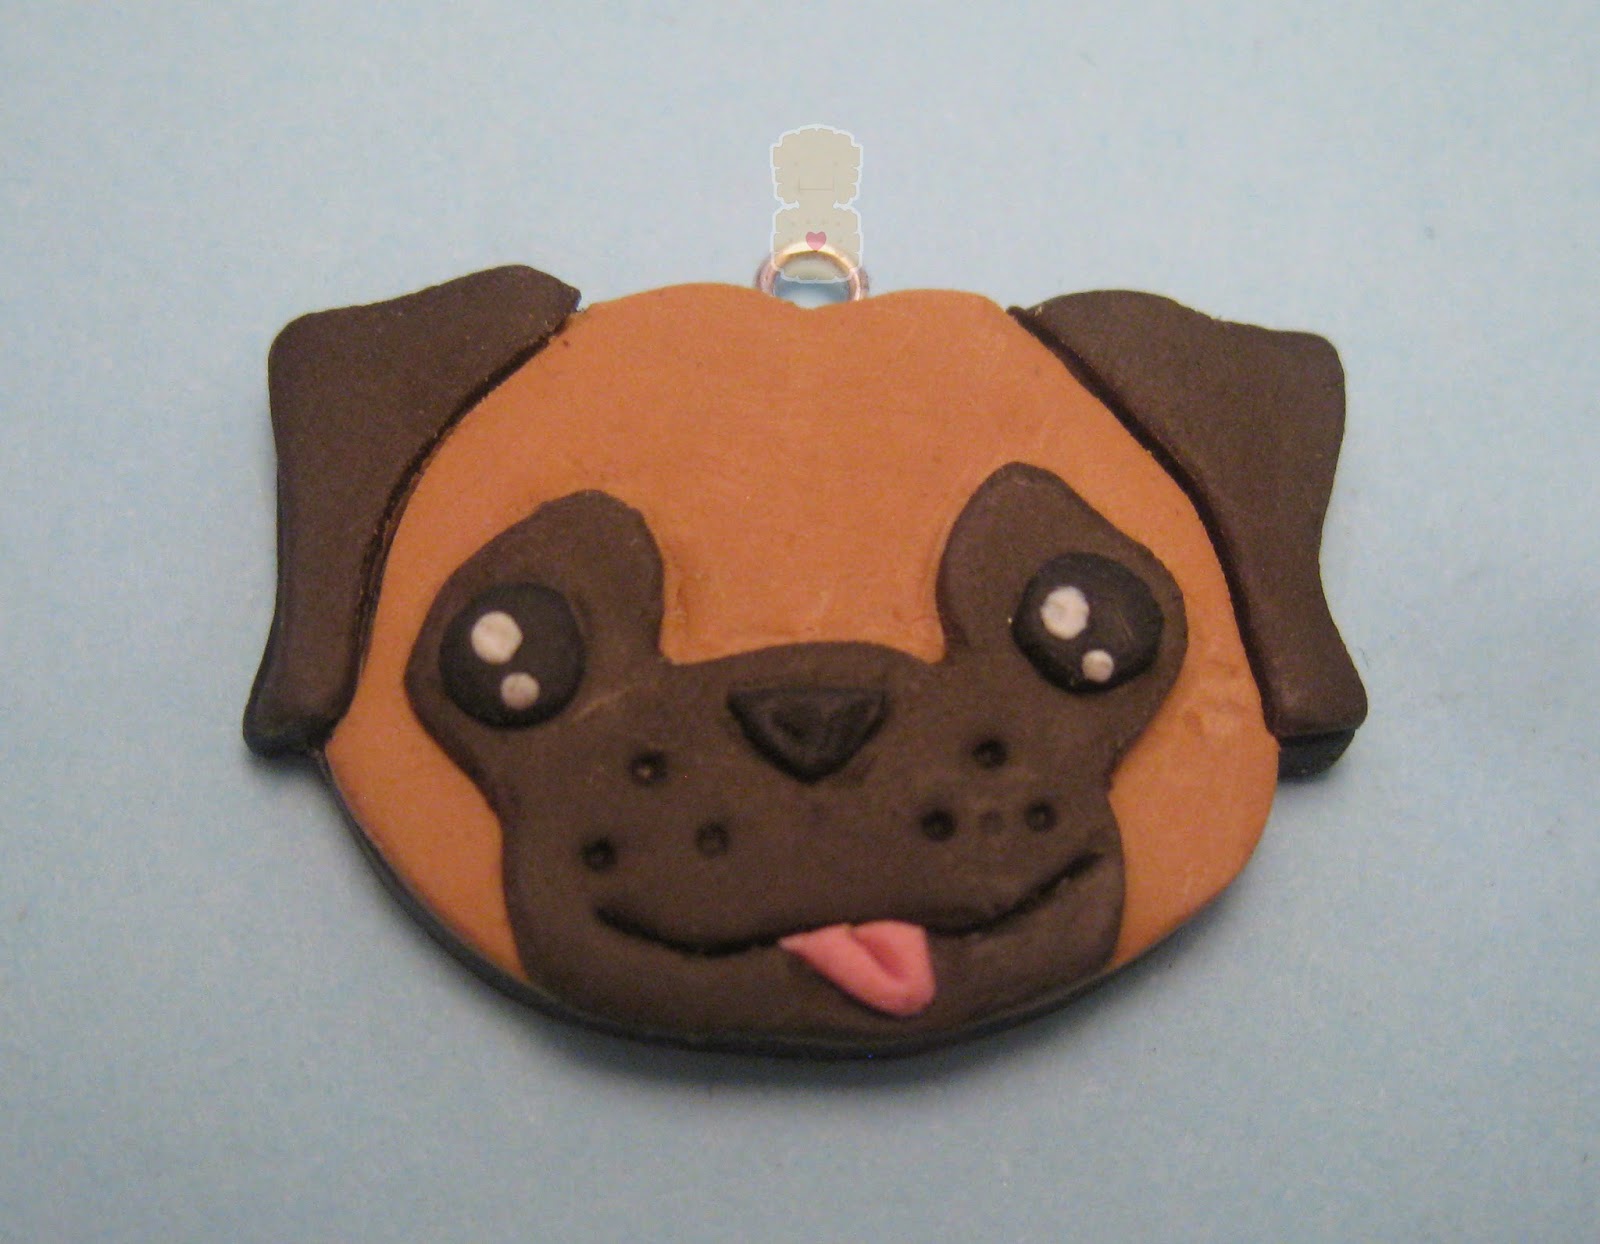
The newest item in the Robotic Cookie store is the cute pug pendant.
I decided whilst making it to take some step by step photos to show the process I go through in making it.

1. First I draw up the design on paper, scan it in and doing any editing.
2. I print and cut out the edited drawing to be used as a template.
3. I mix the colours up in polymer clay.
4. I run the clay through the pasta machine. The black for the back piece is on the thickest setting and the rest is all done on the thinnest setting.

5. I place the template on to the black clay and score and cut around it.
6. Using the template again I cut out the face in the lighter coloured clay. Scoring the image so that design imprints onto the clay.
7. I made the dark brown clay slightly darker.

8. As with the lighter clay I marked and cut out all the dark clay parts.
9. Matching up the line I put all the clay pieces together.
10. Added the eyes, nose and marked in the clay for the mouth and whiskers.
11. Mixed up some light pink clay and ran it through the pasta machine on the thinnest setting for the tongue.
12. Added an eye pin and baked in the oven.
And tadah! The final completed pendant.
This piece is now available in the Robotic Cookie Etsy Store HERE


Wow, he is so cute! It was so interesting to see the process as well :)
ReplyDelete